
Transplanting Seedlings: A Step-by-Step Guide to Success
You’ve nurtured your seedlings for weeks, carefully balancing water, light, and the occasional curious pet. Now comes the moment of truth: planting them into their forever home in the field or garden. It’s a bit like sending your kids off to college—there’s excitement, anticipation, and just a hint of worry. Will they adapt? Will something go wrong? Or will they thrive and grow strong?
If you find yourself unsure about how to take this next step, you’re not alone. Questions like:
How do I know if my seedlings are ready to transplant?
Should I prepare the soil in a specific way?
Do I need to harden them off first?
These are common concerns, and this guide is here to help.
In this post, I’ll walk you through the entire process—from recognizing when seedlings are ready, to preparing them for the elements, to planting them with confidence. You’ll learn how to set your seedlings up for success so they can hit the ground running (or growing!).
What You’ll Learn
The right size for transplanting seedlings
How to prepare seedlings before planting (including hardening off)
Steps to prepare your growing beds
When to transplant based on weather and soil conditions
How to troubleshoot common transplant issues
Whether you’re planting out seedlings for the first time or refining your techniques as a seasoned grower, this guide will give you the tools and confidence to transplant successfully.
Here’s the good news: plants want to grow. With a little planning and care, your seedlings will thrive in their new home—and you’ll soon be enjoying the results of your hard work.
Let’s dive in!
Note: This post contains affiliate links. If you make a purchase through these links, we may receive a small commission at no additional cost to you. Thank you for supporting our farm and the work we do to bring you helpful growing resources!
Seedling Size for Transplant
There’s no single “perfect size” for transplanting seedlings. The ideal size depends on a mix of factors:
Variety-specific needs
Pest and weed pressure in your field
Soil conditions and irrigation infrastructure
Balancing a healthy root system with avoiding root-bound stress
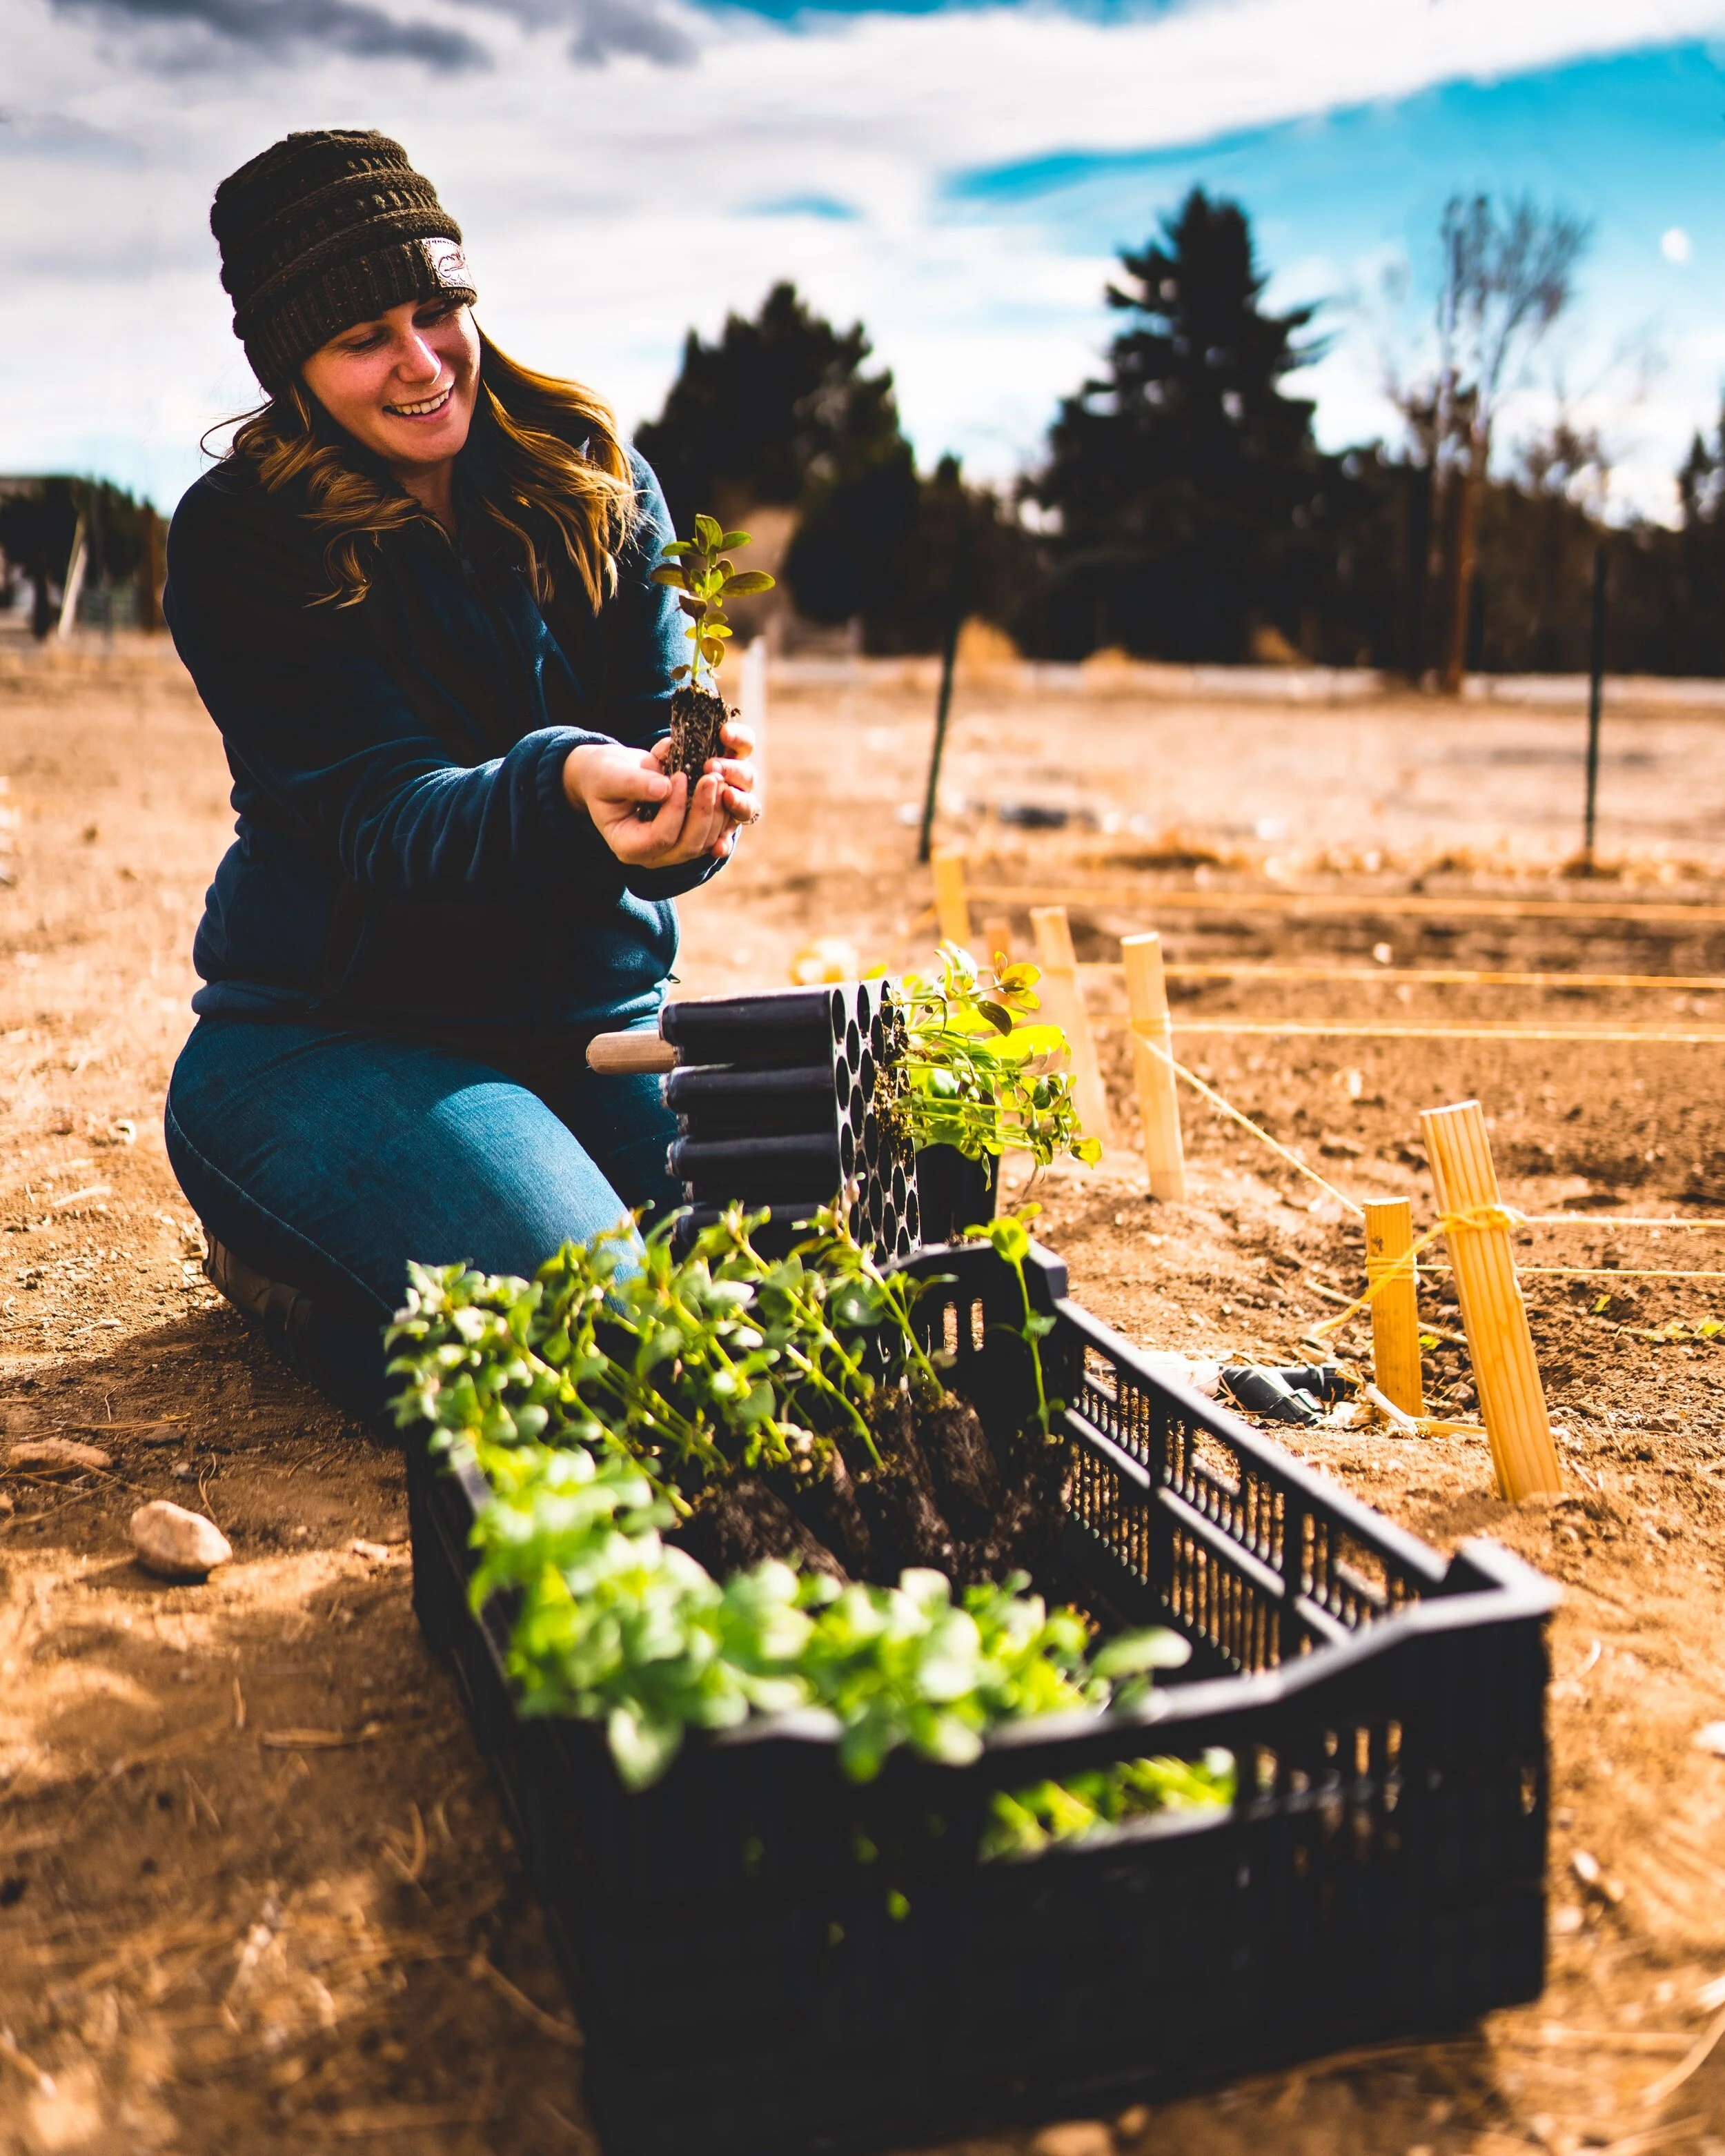
Newer growers are often surprised at how small seedlings can successfully be transplanted. In our experience, most flower varieties thrive when transplanted straight out of 128-cell trays. A seedling may look small from the top, but it’s really the root system that matters—even tiny-looking plants like lisianthus often develop robust roots early on, ready to establish in the field.
The Root System Test
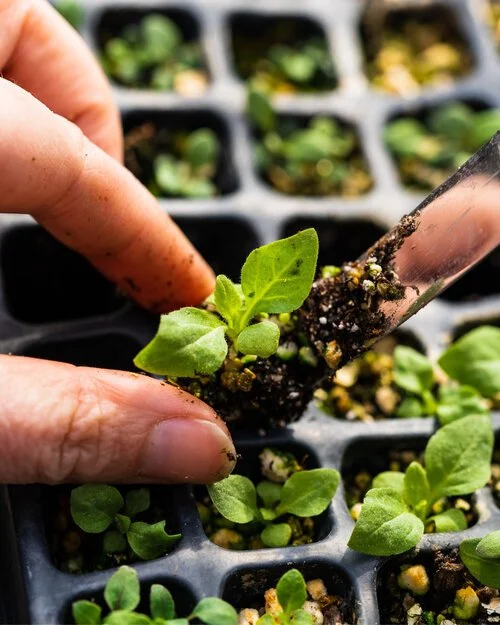
We determine readiness based on how easily the seedling pulls out of the cell by its true leaves. If it lifts cleanly (without needing to pry it out), the root system is developed enough to hold the soil together but not yet root-bound. Root-bound plants can stunt growth, which is far from ideal when your goal is tall stems and healthy blooms.
Note: Some varieties, like ammi or celosia, are more sensitive to root disturbance, requiring extra care during transplanting. For delicate crops like lisianthus, we use a tool to gently remove seedlings from cell trays, as their stems can easily snap at the roots. Given the time and financial investment lisianthus requires, this added step minimizes the risk of losing plants.
Other Factors That Influence Seedling Size
While the seedling's root system is the most important factor for determining readiness, other elements that can impact when and how you transplant. These include:
Pest and Weed Pressure
Soil Type and Watering Infrastructure
Each of these factors can influence whether you transplant smaller seedlings or wait for them to size up.
1. Pest and Weed Pressure
Microclimates and local challenges often determine the ideal size for transplanting. Smaller seedlings might struggle to survive heavy pest or weed pressure, so adjusting seedling size is key to giving them a head start.
Slug Pressure: Poppies, for example, fare much better when planted as larger seedlings—think 72-cell trays, 50-cell trays, or even 2-inch soil blocks. Larger transplants can withstand minor nibbling more easily.
Weed Pressure: In fields with heavy weed competition, larger seedlings stand a better chance of outcompeting weeds for light and space. If this is an issue, avoid transplanting seedlings smaller than 128-cell trays.
Pro Tip: If all this tray size talk feels unfamiliar, check out our guide on seed-starting supplies.
2. Soil Type and Watering Infrastructure
Soil conditions play a huge role in determining how resilient your seedlings will be post-transplant. Tough or challenging soils often require larger seedlings with more developed root systems.
Clay-Heavy or Rocky Soil: In nutrient-poor, compacted soil, smaller seedlings may struggle to establish. We’ve found that larger seedlings with deeper root systems are more resilient and adapt more quickly to harsh conditions.
Moisture Retention: If your soil struggles to hold moisture—like in arid or sandy climates—consistent watering is critical.
What works for us:
Combining drip irrigation with hand-watering fresh transplants for at least a week (often two) ensures a healthy establishment.
Adding yucca as a soil amendment or monthly drench improves water uptake and helps seedlings adapt, particularly in dry conditions. In our arid climate and clay soil, which tends to hold onto salts, we’ve found yucca especially helpful for improving plant establishment and overall health.
By pairing thoughtful soil preparation with proper seedling care, you can give your transplants the best chance to establish quickly and thrive.
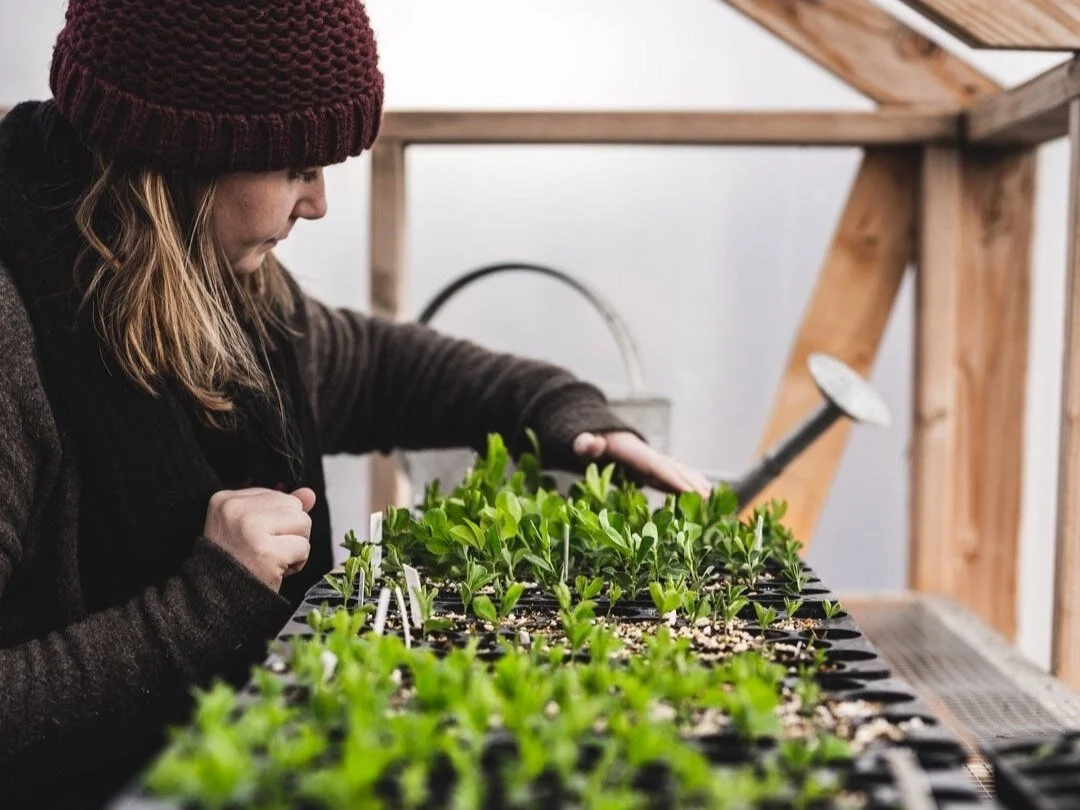
Hardening Off Seedlings
Before planting, it’s important to prepare your seedlings for the natural elements they’ll encounter in the field. This process, known as hardening off, gradually introduces seedlings to outdoor conditions, helping them build resilience and reducing transplant shock.
Hardening off acclimates seedlings to:
Sun exposure
Wind
Temperature fluctuations

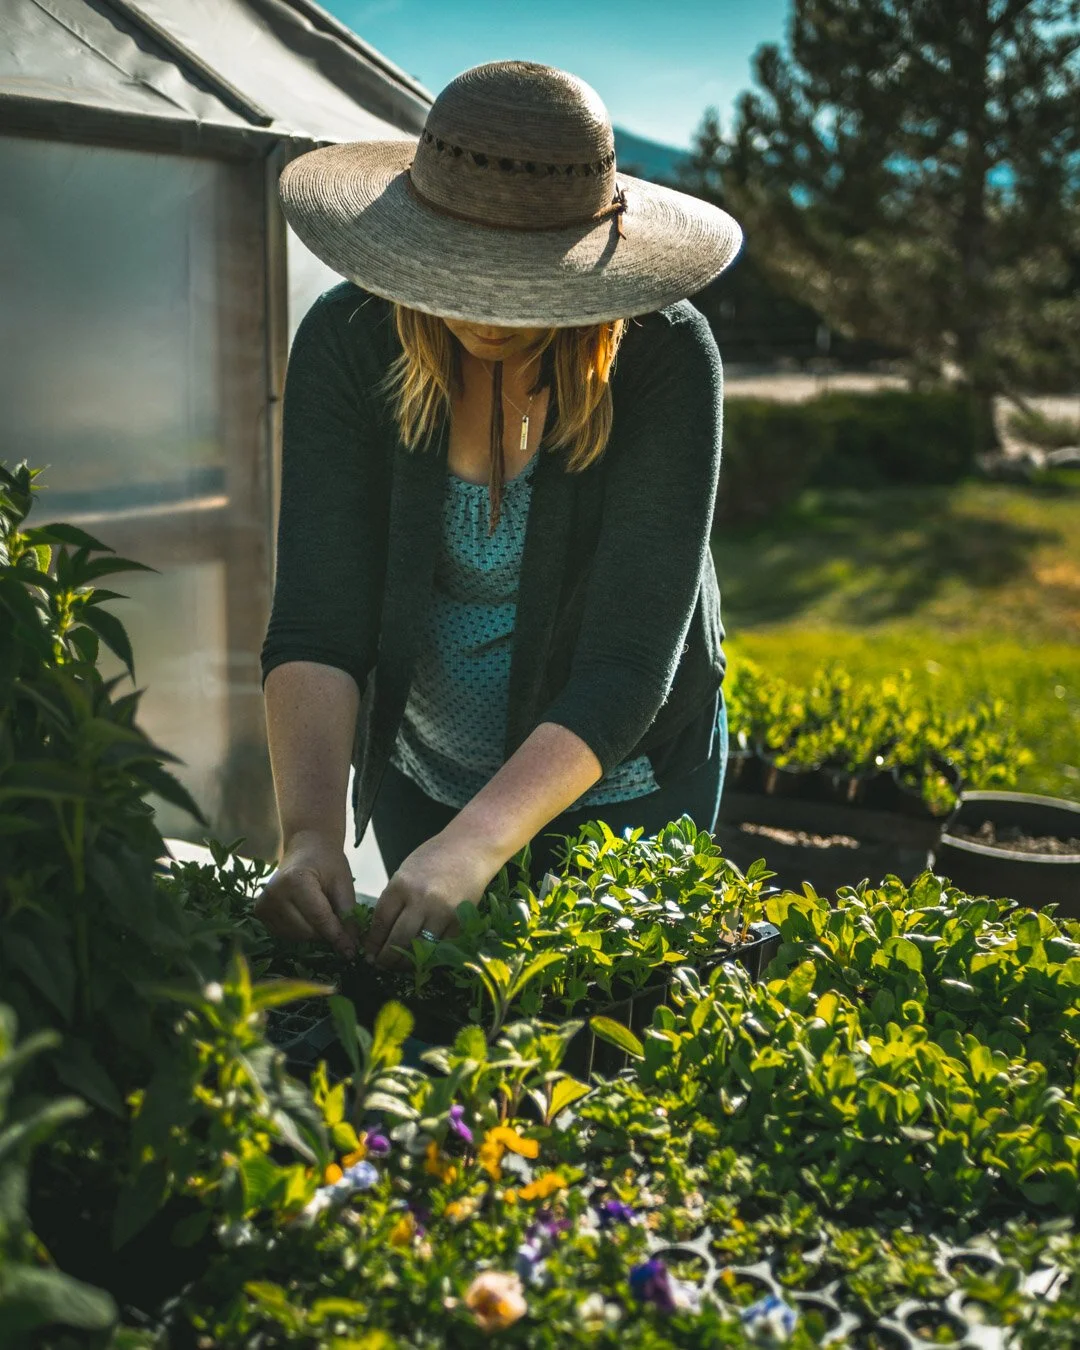
Our Setup: A Propagation House
We’re fortunate to have a small propagation house in full sun. Inside, we keep a fan running—not just to control the temperature, but also to help seedlings develop stronger stems by simulating wind. The space stays just warm enough to keep seedlings above freezing but not overly cozy, which helps prepare them for colder conditions.
Once the propagation house fills up, overflow seedlings move to an outdoor table. By this stage, they’re already acclimated enough to handle a bit of wind and cooler temps.
If You’re Starting Seedlings Indoors
For those growing seedlings in a basement, spare room, or under grow lights, hardening off is essential. Without exposure to natural sunlight, wind, or fluctuating temperatures, indoor seedlings are more prone to shock. Gradual acclimation to these elements is key.
Steps to Harden Off Seedlings:
Prepare for Wind
Wind exposure helps seedlings develop stronger stems, reducing legginess.
Use a small oscillating fan to gently blow over seedlings for a few hours each day.
No fan? No problem—lightly “pet” your seedlings by brushing your hand over their tops daily.
Prepare for Temperature Fluctuations
Seedlings cozy indoors may struggle with temperature swings outdoors, so acclimation is crucial.
Gradually expose seedlings to cooler conditions, particularly if they’ve been in a warm environment.
Prevent heat stress by moving grow lights further from plants or turning off heating mats after germination.
Prepare for Sun Exposure
Introducing seedlings to sunlight in small doses prevents sunburn or wilting.
Start on a cloudy day or in dappled shade.
Water seedlings thoroughly before placing them outside.
Begin with 15–30 minutes of morning sunlight, increasing exposure daily in small increments.
Common Issues to Watch For During Hardening Off
Even with careful planning, seedlings may show signs of stress during hardening off. One key factor to monitor is soil moisture.
Pro Tip: Once seedlings are introduced to outdoor elements like wind and sun, the soil in propagation trays can heat up or dry out much faster than in the ground. This is especially true during hardening off when trays are exposed to fluctuating temperatures and direct sunlight. Monitor soil moisture closely and keep seedlings well-watered to prevent stress.
Here are other common issues to watch for:
Wilting: Bring seedlings back into the shade and water if needed. Restart with shorter exposure.
Crispy Leaves: A sign of sunburn—reduce sun exposure and allow seedlings to recover.
Windburn: If seedlings look scorched or tattered, reduce wind exposure until they’ve strengthened.
By preparing your seedlings for wind, temperature fluctuations, and sunlight—and keeping an eye on moisture levels—you’re giving them the best possible start in the field. The process may take a few days to a week (sometimes longer), depending on your setup and the weather. Be patient—your efforts now will pay off with stronger, healthier plants later!
Deciding When to Plant Seedlings
Now that your seedlings are hardened off and ready to face the outdoors, the next step is choosing the right time to plant them out. Timing matters—especially when you’re navigating spring or fall weather that can change in an instant.
To decide when to plant, we consider three main factors:
1. The Weather Forecast
Weather is one of the biggest wild cards when it comes to transplanting seedlings. Late frosts, unseasonal heatwaves, or heavy storms can quickly undo all your careful preparation.
Frost Risk: Even hardy seedlings can experience stress or damage if exposed to a surprise frost. Use local frost date ranges as a guideline, but always keep an eye on short-term forecasts.
Temperature Swings: Rapid changes between day and night temperatures can slow seedling growth or even stunt plants that haven’t been properly hardened off.
Storm Warnings: Avoid planting if heavy rain, strong winds, or storms are expected within the first 7–10 days after transplanting.
Season Extension Tip: Tools like low tunnels, micro-tunnels with frost cloth, and high tunnels can help protect seedlings from unexpected weather. These structures create a buffer against frost, wind, and temperature swings, giving your seedlings a better chance to thrive.
Pro Tip: Trust your instincts! In our high-altitude climate, watching the mountains for signs of moody clouds has saved our transplants more than once.
2. Soil Temperatures
Soil temperature plays a crucial role in determining the success of your transplants, especially for heat-loving varieties. While cold-hardy crops like Iceland poppies or snapdragons can tolerate cooler soil, other varieties simply won’t thrive until the soil warms up.
For Warm-Season Crops (e.g., zinnias, celosia): Wait until soil temperatures reach at least 60°F for active root growth.
For Cold-Hardy Crops (e.g., sweet peas, bachelor buttons, ammi): We often push the limits and plant earlier if seedlings are properly hardened off, the forecast looks stable, and the ground is workable (not frozen). Even for cold-hardy crops, we aim for soil temperatures ideally between 50–55°F, but no lower than 45°F, to ensure healthy root establishment.
Season Extension Tip: High tunnels or hoop houses can warm the soil early in the season, making it possible to transplant heat-loving crops weeks before the field soil naturally reaches the right temperature.
If you’re unsure, a soil thermometer is a quick and inexpensive tool that removes the guesswork.
3. Volunteer Germination in the Field
Nature often provides clues about when it’s safe to transplant. When volunteers—plants like poppies, Queen Anne’s lace, or violas—start germinating naturally in your field, it’s a good sign that soil temperatures are ready for planting those varieties.
Season Extension Tip: If you’re not seeing volunteers yet but want to start planting, consider using frost cloth over micro-tunnels or double low-tunnels to create a protected microclimate that mimics the conditions of later spring.
Why Timing Matters for Flower Farmers
Unlike hobby gardeners, flower farmers are constantly weighing risk versus reward. Getting transplants into the ground earlier—especially during the shoulder seasons—can:
Extend Your Bloom Window: The earlier your flowers are established, the longer you’ll have blooms to sell.
Meet Peak Market Demand: Spring and fall often see the highest demand, so pushing early plantings can be worth the gamble.
While pushing boundaries is part of the job, don’t hesitate to give seedlings extra protection if the weather looks uncertain. Season extension tools like micro-tunnels, frost cloth, and high tunnels can make all the difference in giving transplants a fighting chance.
If you’re new to season extension, check out our detailed guide on Season Extension Strategies for Flower Farmers for more tips and techniques.
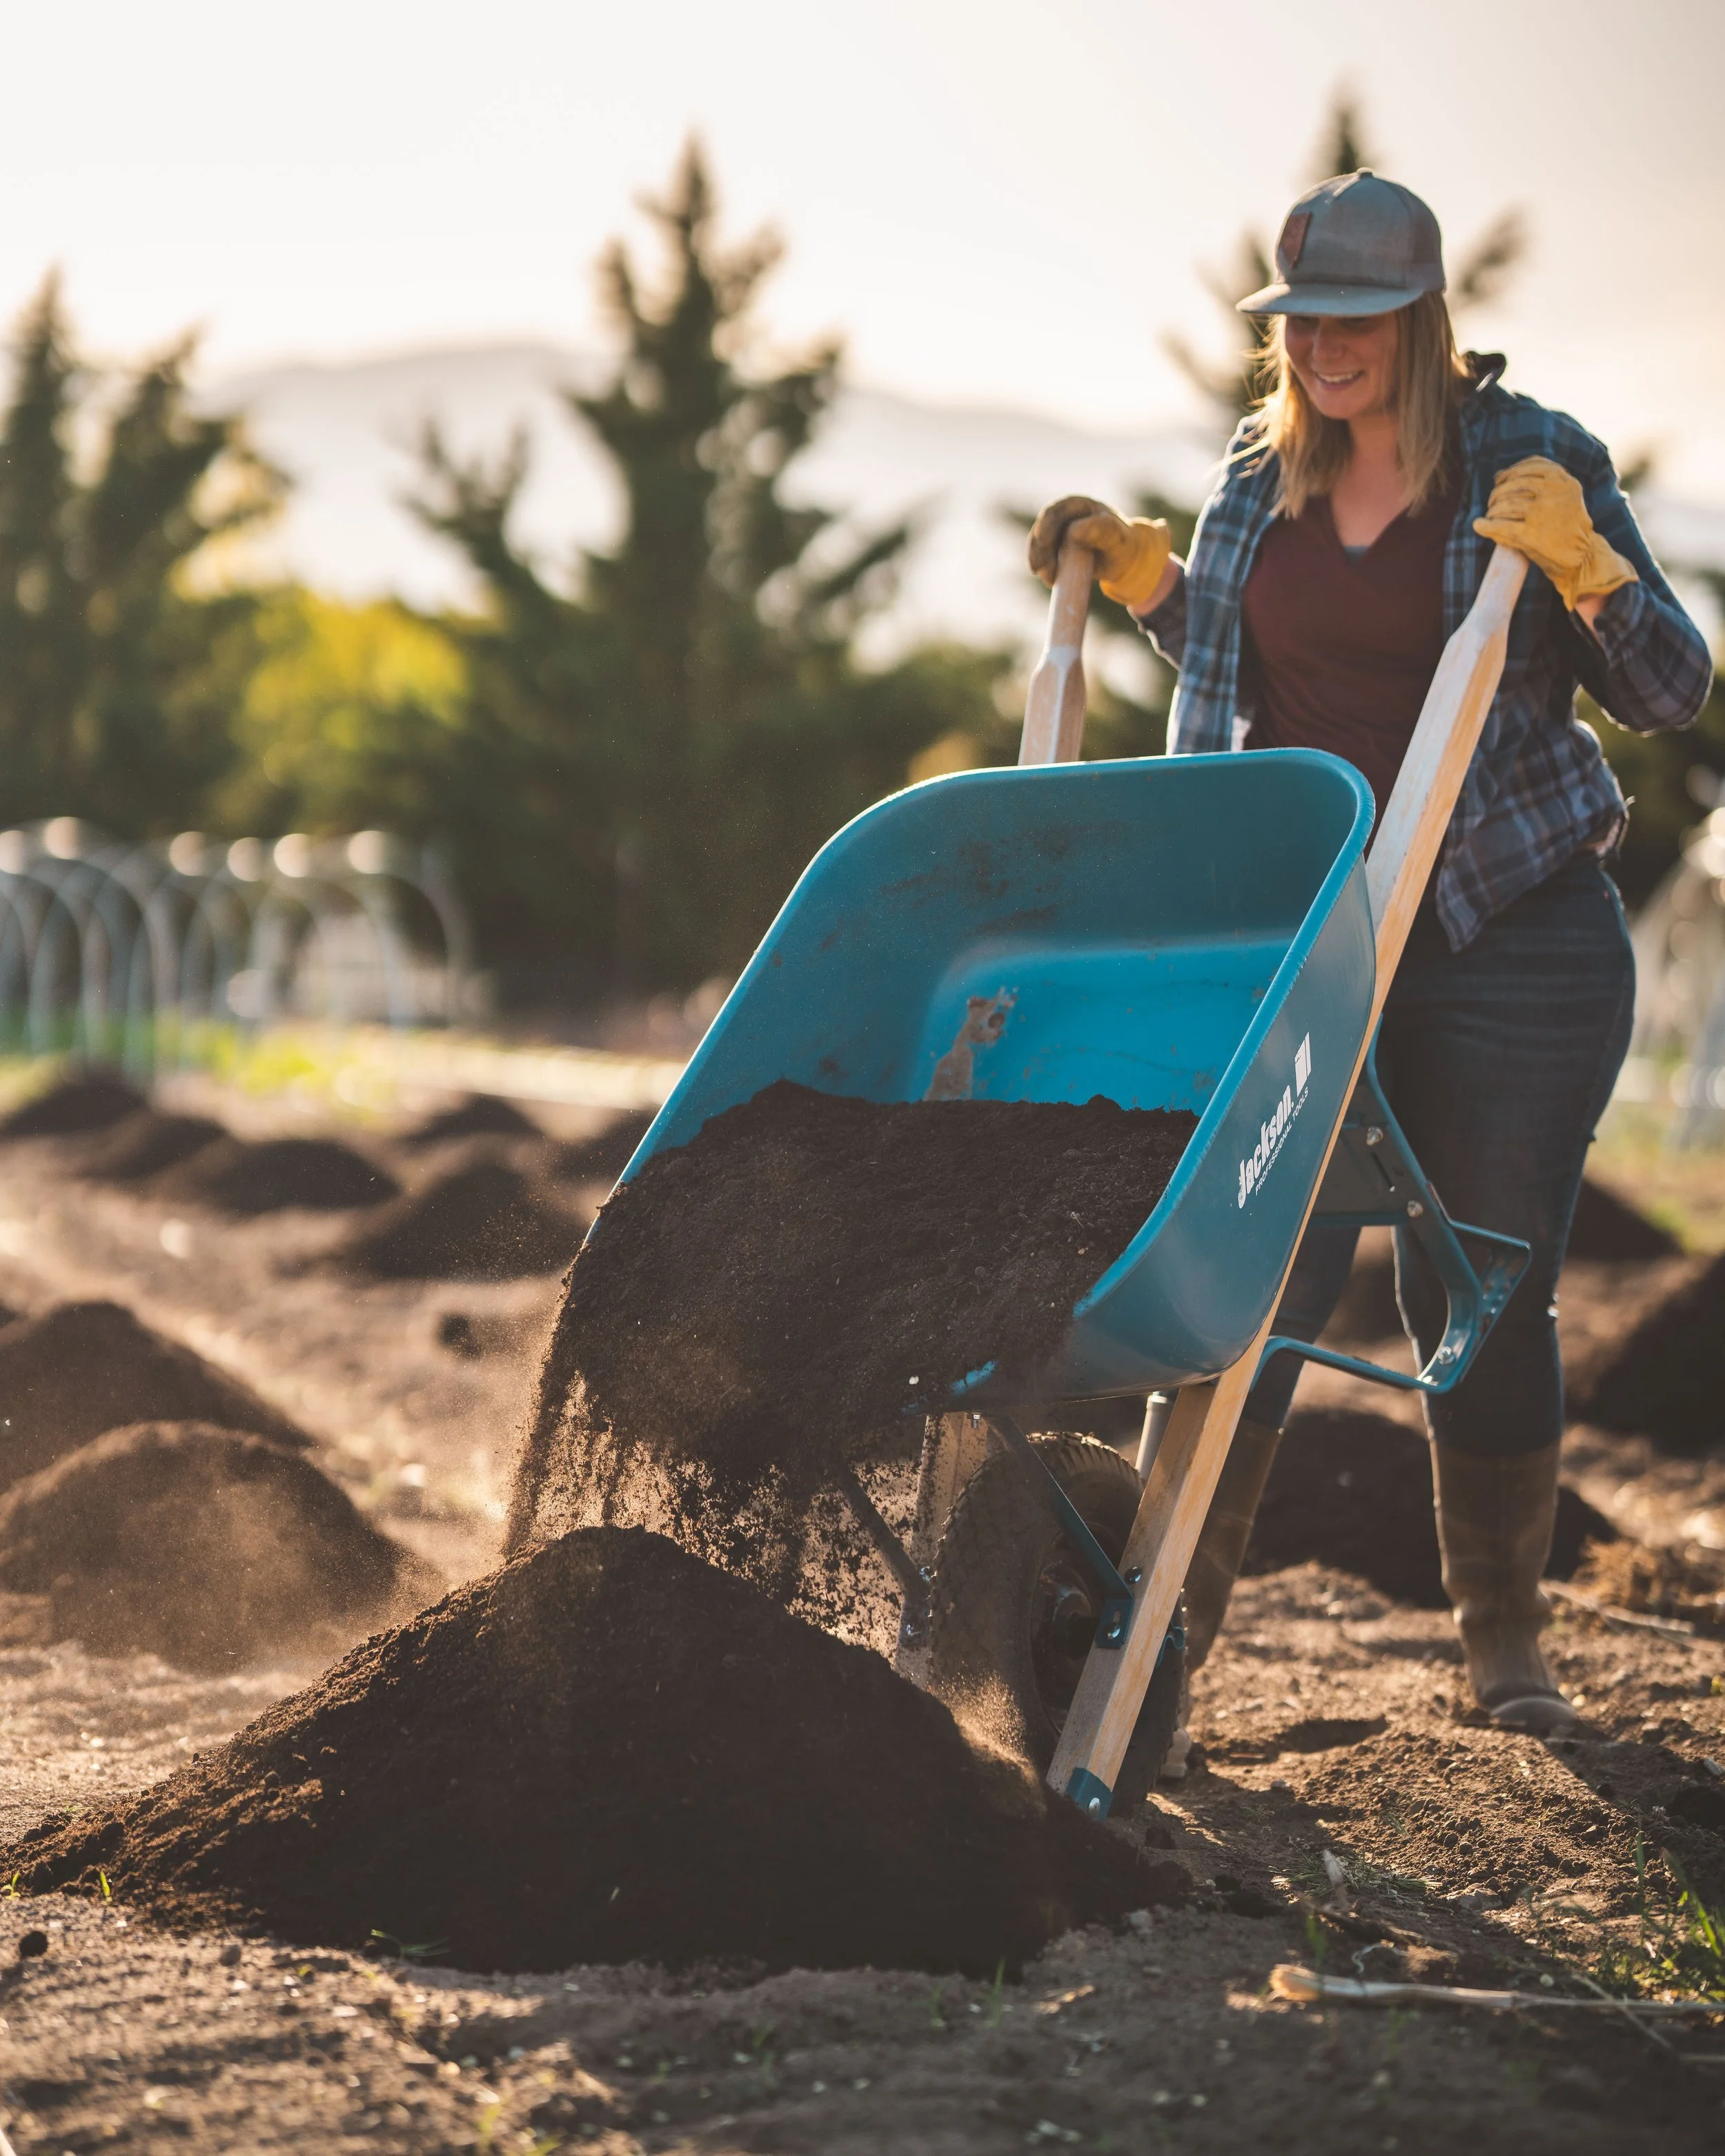
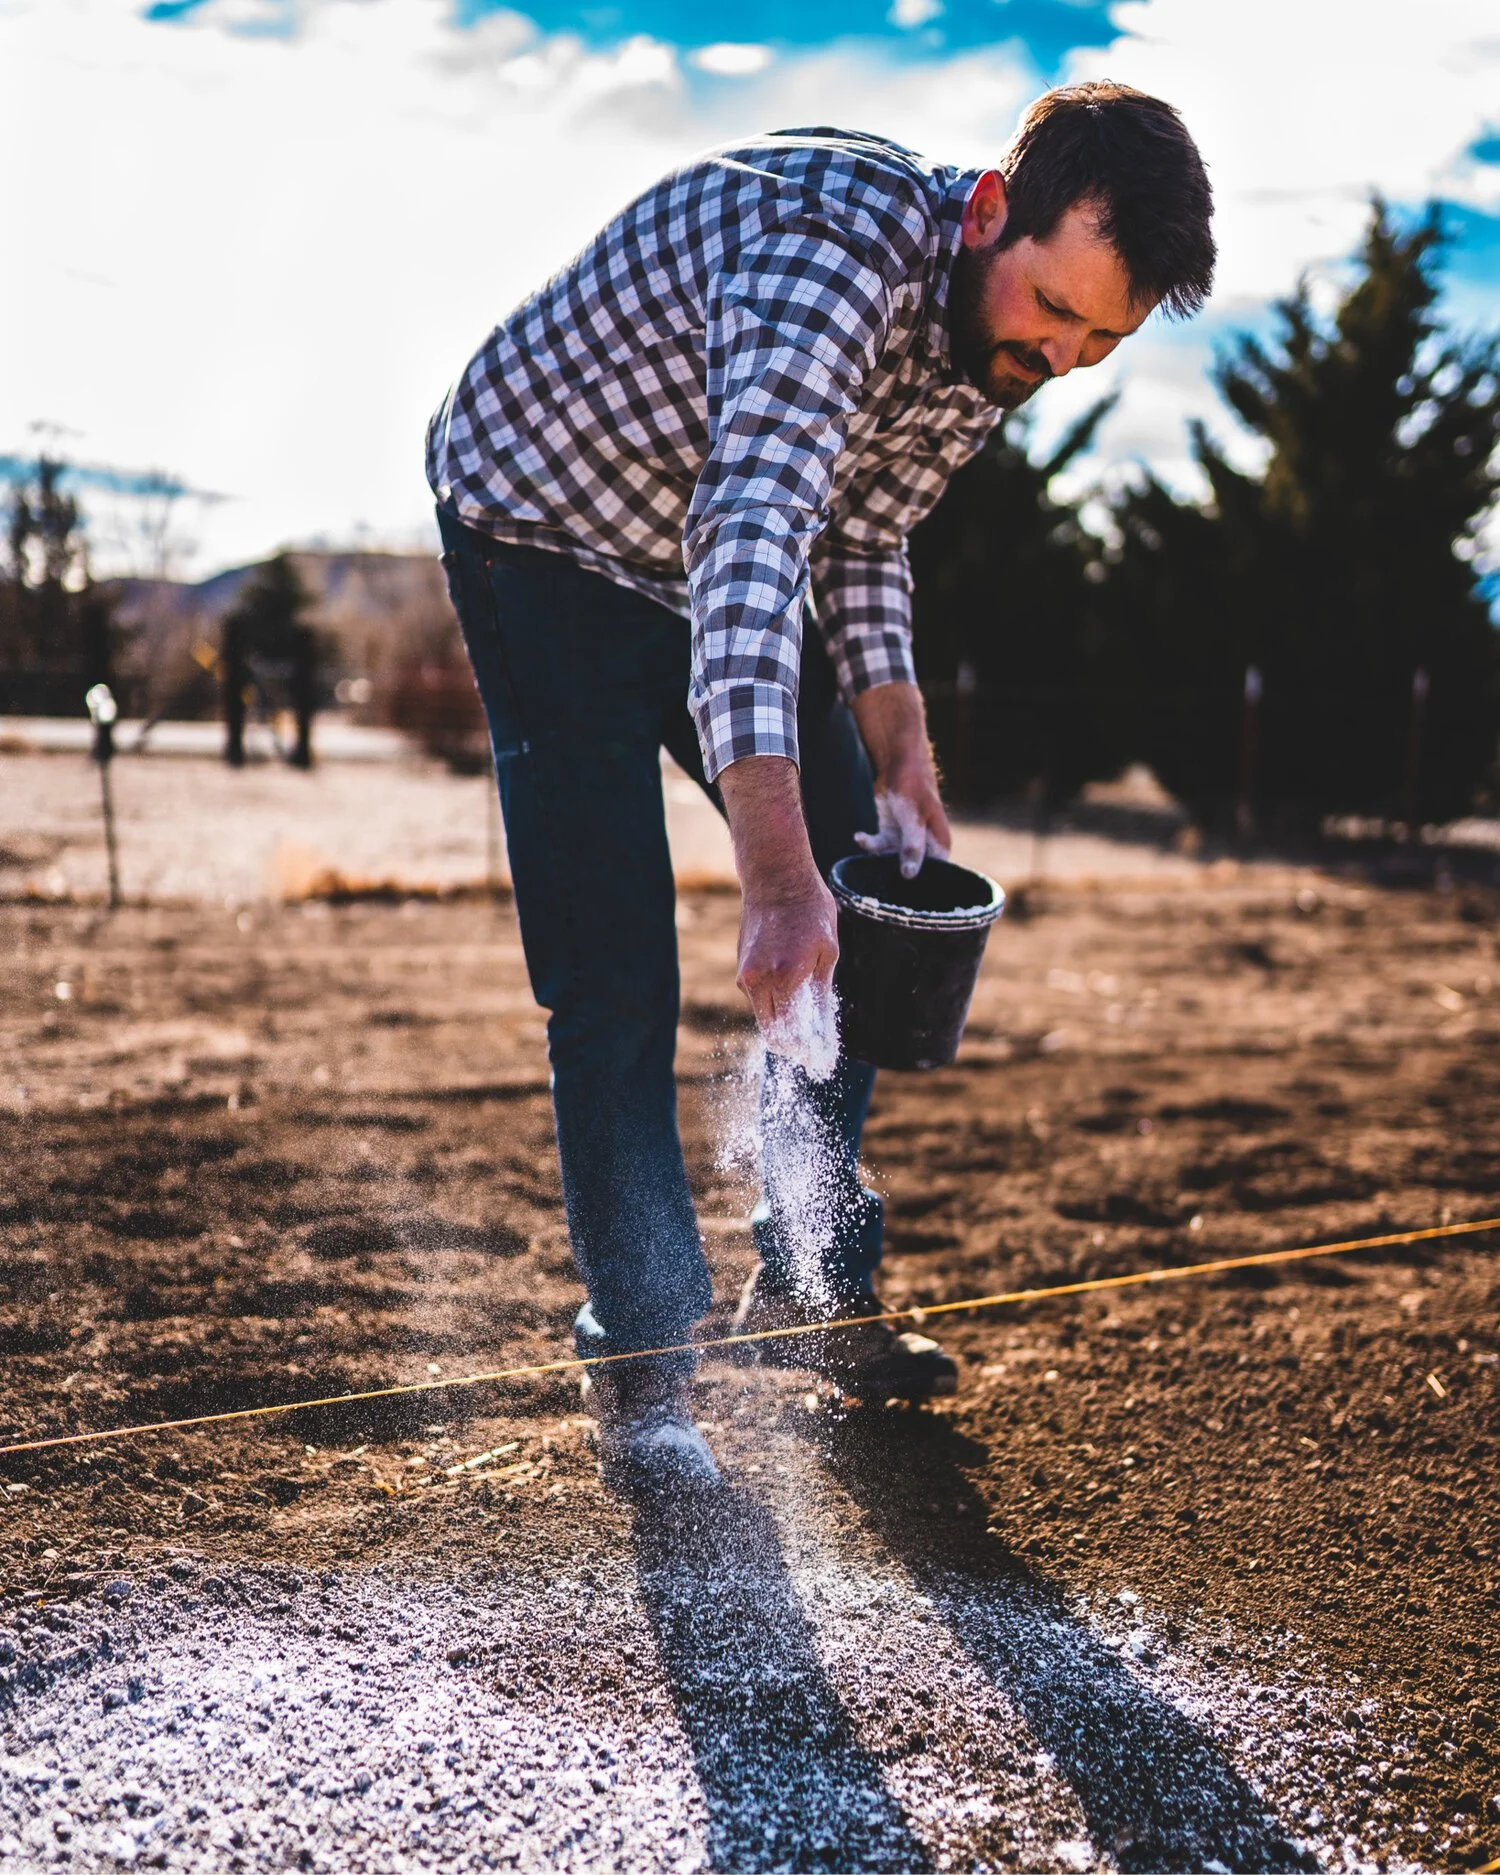
Preparing the Growing Bed for Seedlings
Your seedlings are only as strong as the soil they’re planted into. Soil health is everything, and properly preparing your growing beds can make or break the success of your transplants.
If you take away just one thing from this section, let it be this: test your soil.
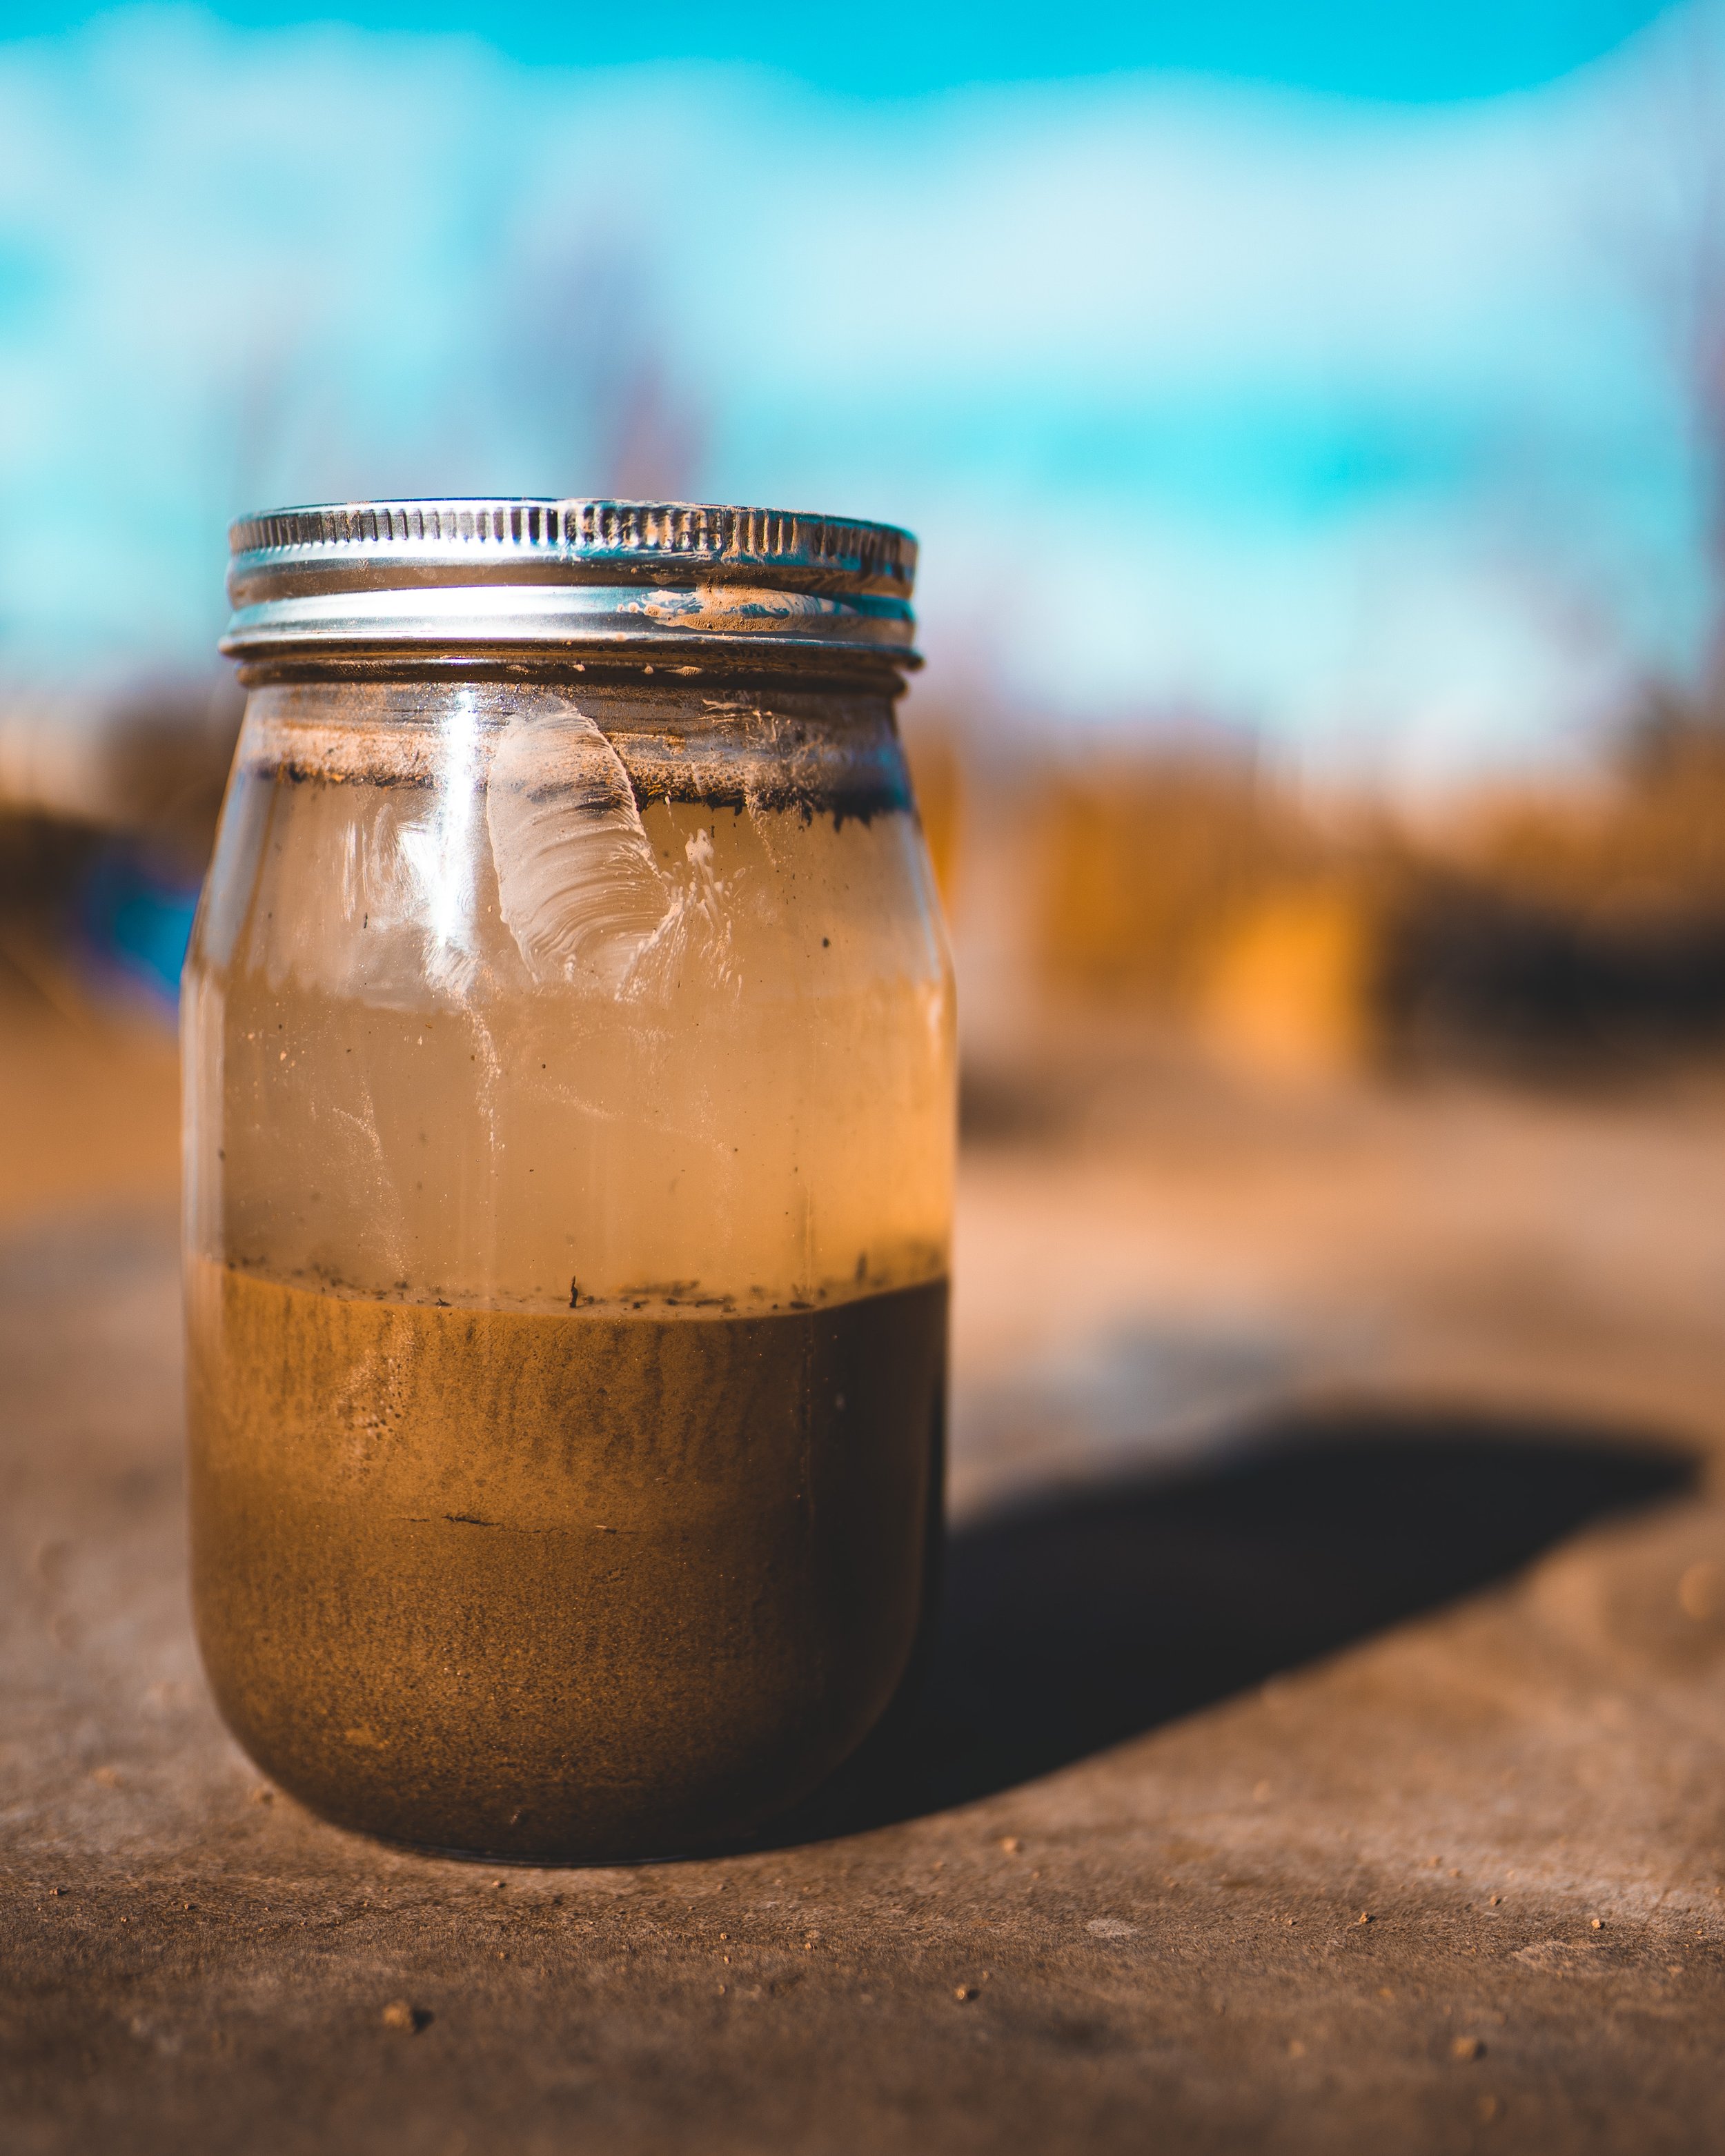
Start with a Soil Test
A soil test provides valuable insight into nutrient levels and pH, helping you make informed decisions about amendments. Ideally, test your soil in the fall so you have time to amend it before spring, but spring testing works too.
Pay for the lab’s recommendations—it's worth it. We were shocked when a supposedly “quality compost” hurt our plants early on due to nutrient lockout. If your transplants start yellowing and dying after a week, despite proper hardening off, watering, and favorable weather, the issue could be with your soil prep.
Soil Amendments: Less Is More
For our compacted, clay-heavy soil, here’s what worked for us:
Compost: Initially, we added a thin 1-inch layer of commercially purchased compost annually to improve organic matter. The compost we used was heavily horse manure-based, which raised concerns about potential salt content. However, since our soil was extremely low in organic matter, we opted to use it for a few years while monitoring soil health closely.
Now, we’ve transitioned to making our own compost, using garden waste that has been turned into soil gold thanks to all the hardworking worms—and our chickens, who do an excellent job of turning and aerating the piles while adding their own contributions.
Humic Acid and Gypsum: These amendments helped break up clay and improve nutrient availability. In the western USA, where soils often tend to be clay-heavy or saline, gypsum is particularly valuable for improving soil structure and mitigating salt accumulation without altering pH levels.
NPK Fertilizer Mix: We use Pre-Plant Plus, a slow-release, balanced fertilizer from Phyta-Grow, a company based in California. This OMRI-listed product is made with feather meal, mined potassium sulfate, and bone meal, offering an NPK of 7-5-7. It’s particularly beneficial for adding nutrients like nitrogen and phosphorus while minimizing the risk of burning crops—an issue often encountered with faster-releasing products like blood meal.
That said, availability may vary depending on your location, and this specific mix may not suit every grower’s needs or preferences. If Pre-Plant Plus isn’t an option, consider other slow-release fertilizers that provide balanced nutrition and are appropriate for your soil type and crops.
Rock Dust: Applied only once to newly opened rows to introduce essential trace minerals like calcium, magnesium, and silicon, as well as micronutrients such as boron, iron, zinc, and manganese. These minerals support plant growth, improve soil structure, and enhance microbial activity. While it’s a one-time amendment, its benefits can persist in the soil for years.
Over time, our soil health improved simply by growing in it and leaving plant roots intact during winter to feed the beneficial microbes, worms, and nematodes. We’ve found that sometimes, less is more when it comes to soil amendments—especially as your soil becomes more balanced.
However, regular soil testing remains essential to understanding your soil’s unique needs. Testing ensures you’re applying the right amendments in the right amounts, avoiding overapplication and potential nutrient imbalances. As your soil health improves, you may find that it requires fewer inputs to maintain optimal fertility and structure.
Efficient Bed Preparation for Transplants
Preparing your growing beds is an essential first step to successful transplants. Whether you prefer no-till or till methods, the goal is to create a weed-free, hydrated, and well-structured environment for your seedlings. Here’s an overview of the process:
Level the Surface: Smooth out the soil to ensure water permeates evenly and facilitates planting.
Set Up Drip Irrigation: Lay drip tape for consistent moisture delivery.
Use Silage Tarp or Landscape Fabric: These tools help suppress weeds, retain moisture, and stabilize soil temperatures in arid climates.
By starting with well-prepared beds, you’re setting the foundation for healthier plants. For a step-by-step guide on transplanting and more tools to enhance your process, keep reading.

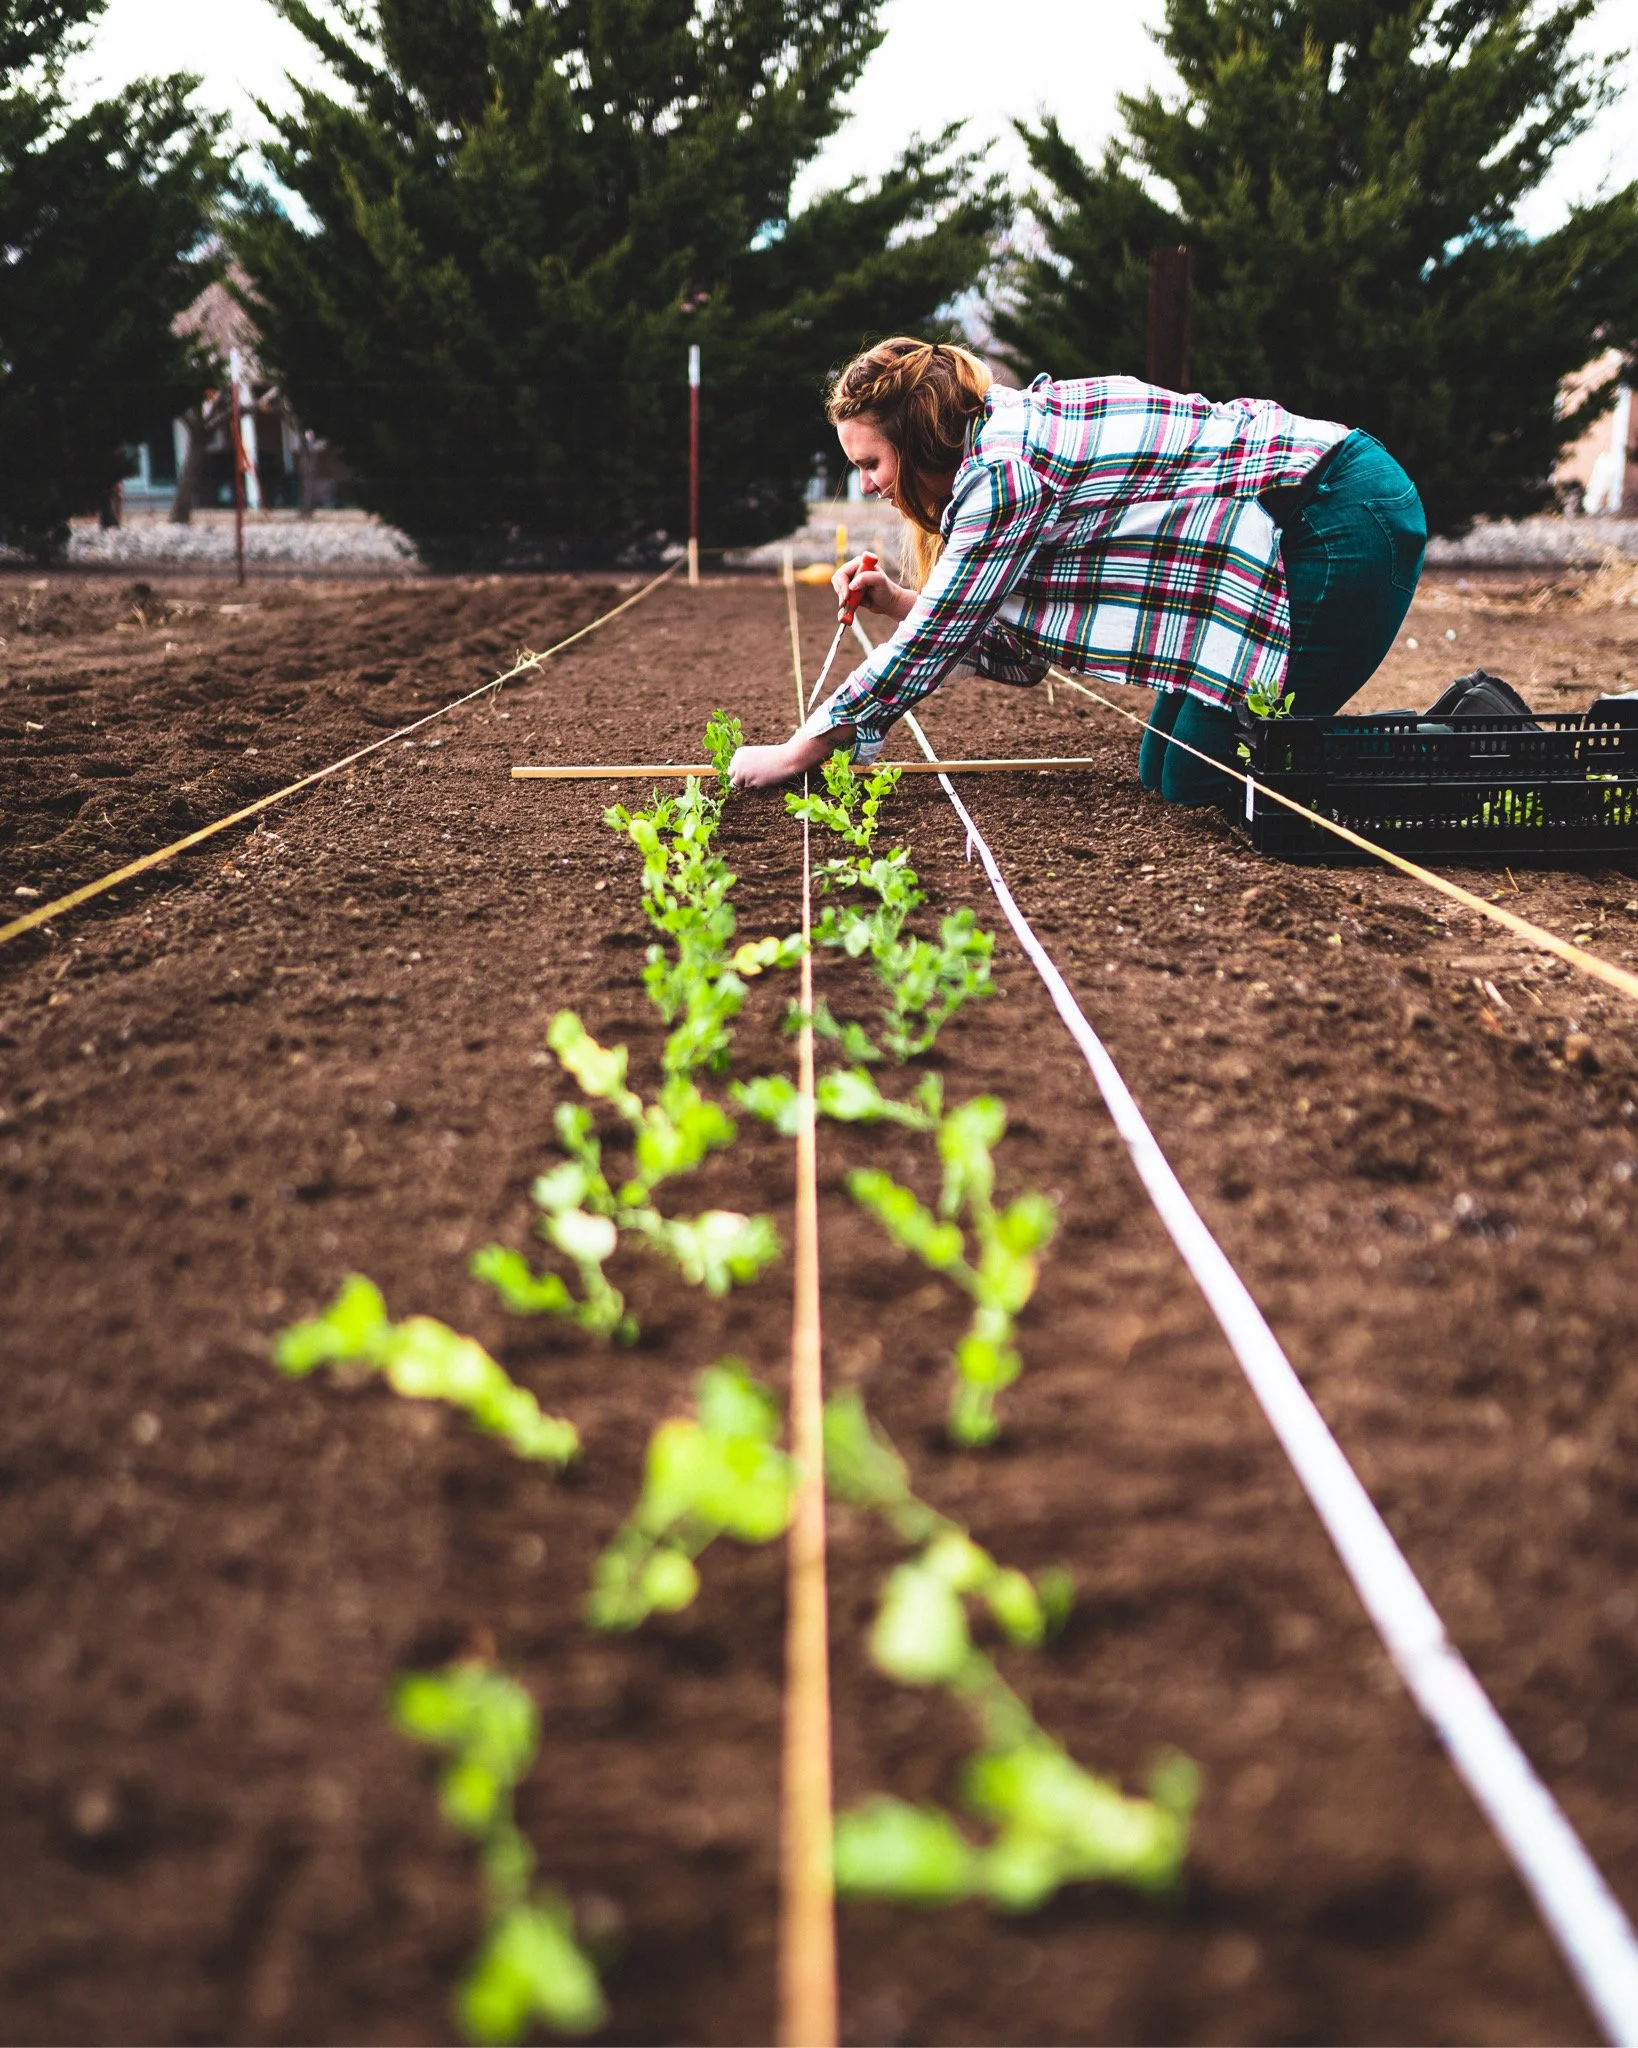
How to Transplant Seedlings
When it’s finally time to get those seedlings into the ground, a little preparation and technique will ensure they establish quickly and thrive. Here’s our step-by-step process:
1. Prepare the Beds: Silage Tarp and Drip Irrigation
Step 1: Prep the Soil: Amend the soil as needed (compost, humic acid, etc.), smooth the surface, and lay out your drip irrigation. Running irrigation under the tarp keeps the soil moist and encourages organic breakdown.
Step 2: Use a Silage Tarp: Cover the beds with a silage tarp (also called a light deprivation tarp) for anywhere from a couple of weeks to several months, depending on the season and weed pressure. The tarp warms the soil, kills weeds naturally, and helps improve soil structure.
Step 3: Remove the Tarp: Once the tarp has done its job, remove it to reveal weed-free, prepped soil ready for planting.
We recommend using durable silage tarps from Bootstrap Farmer—check them out!
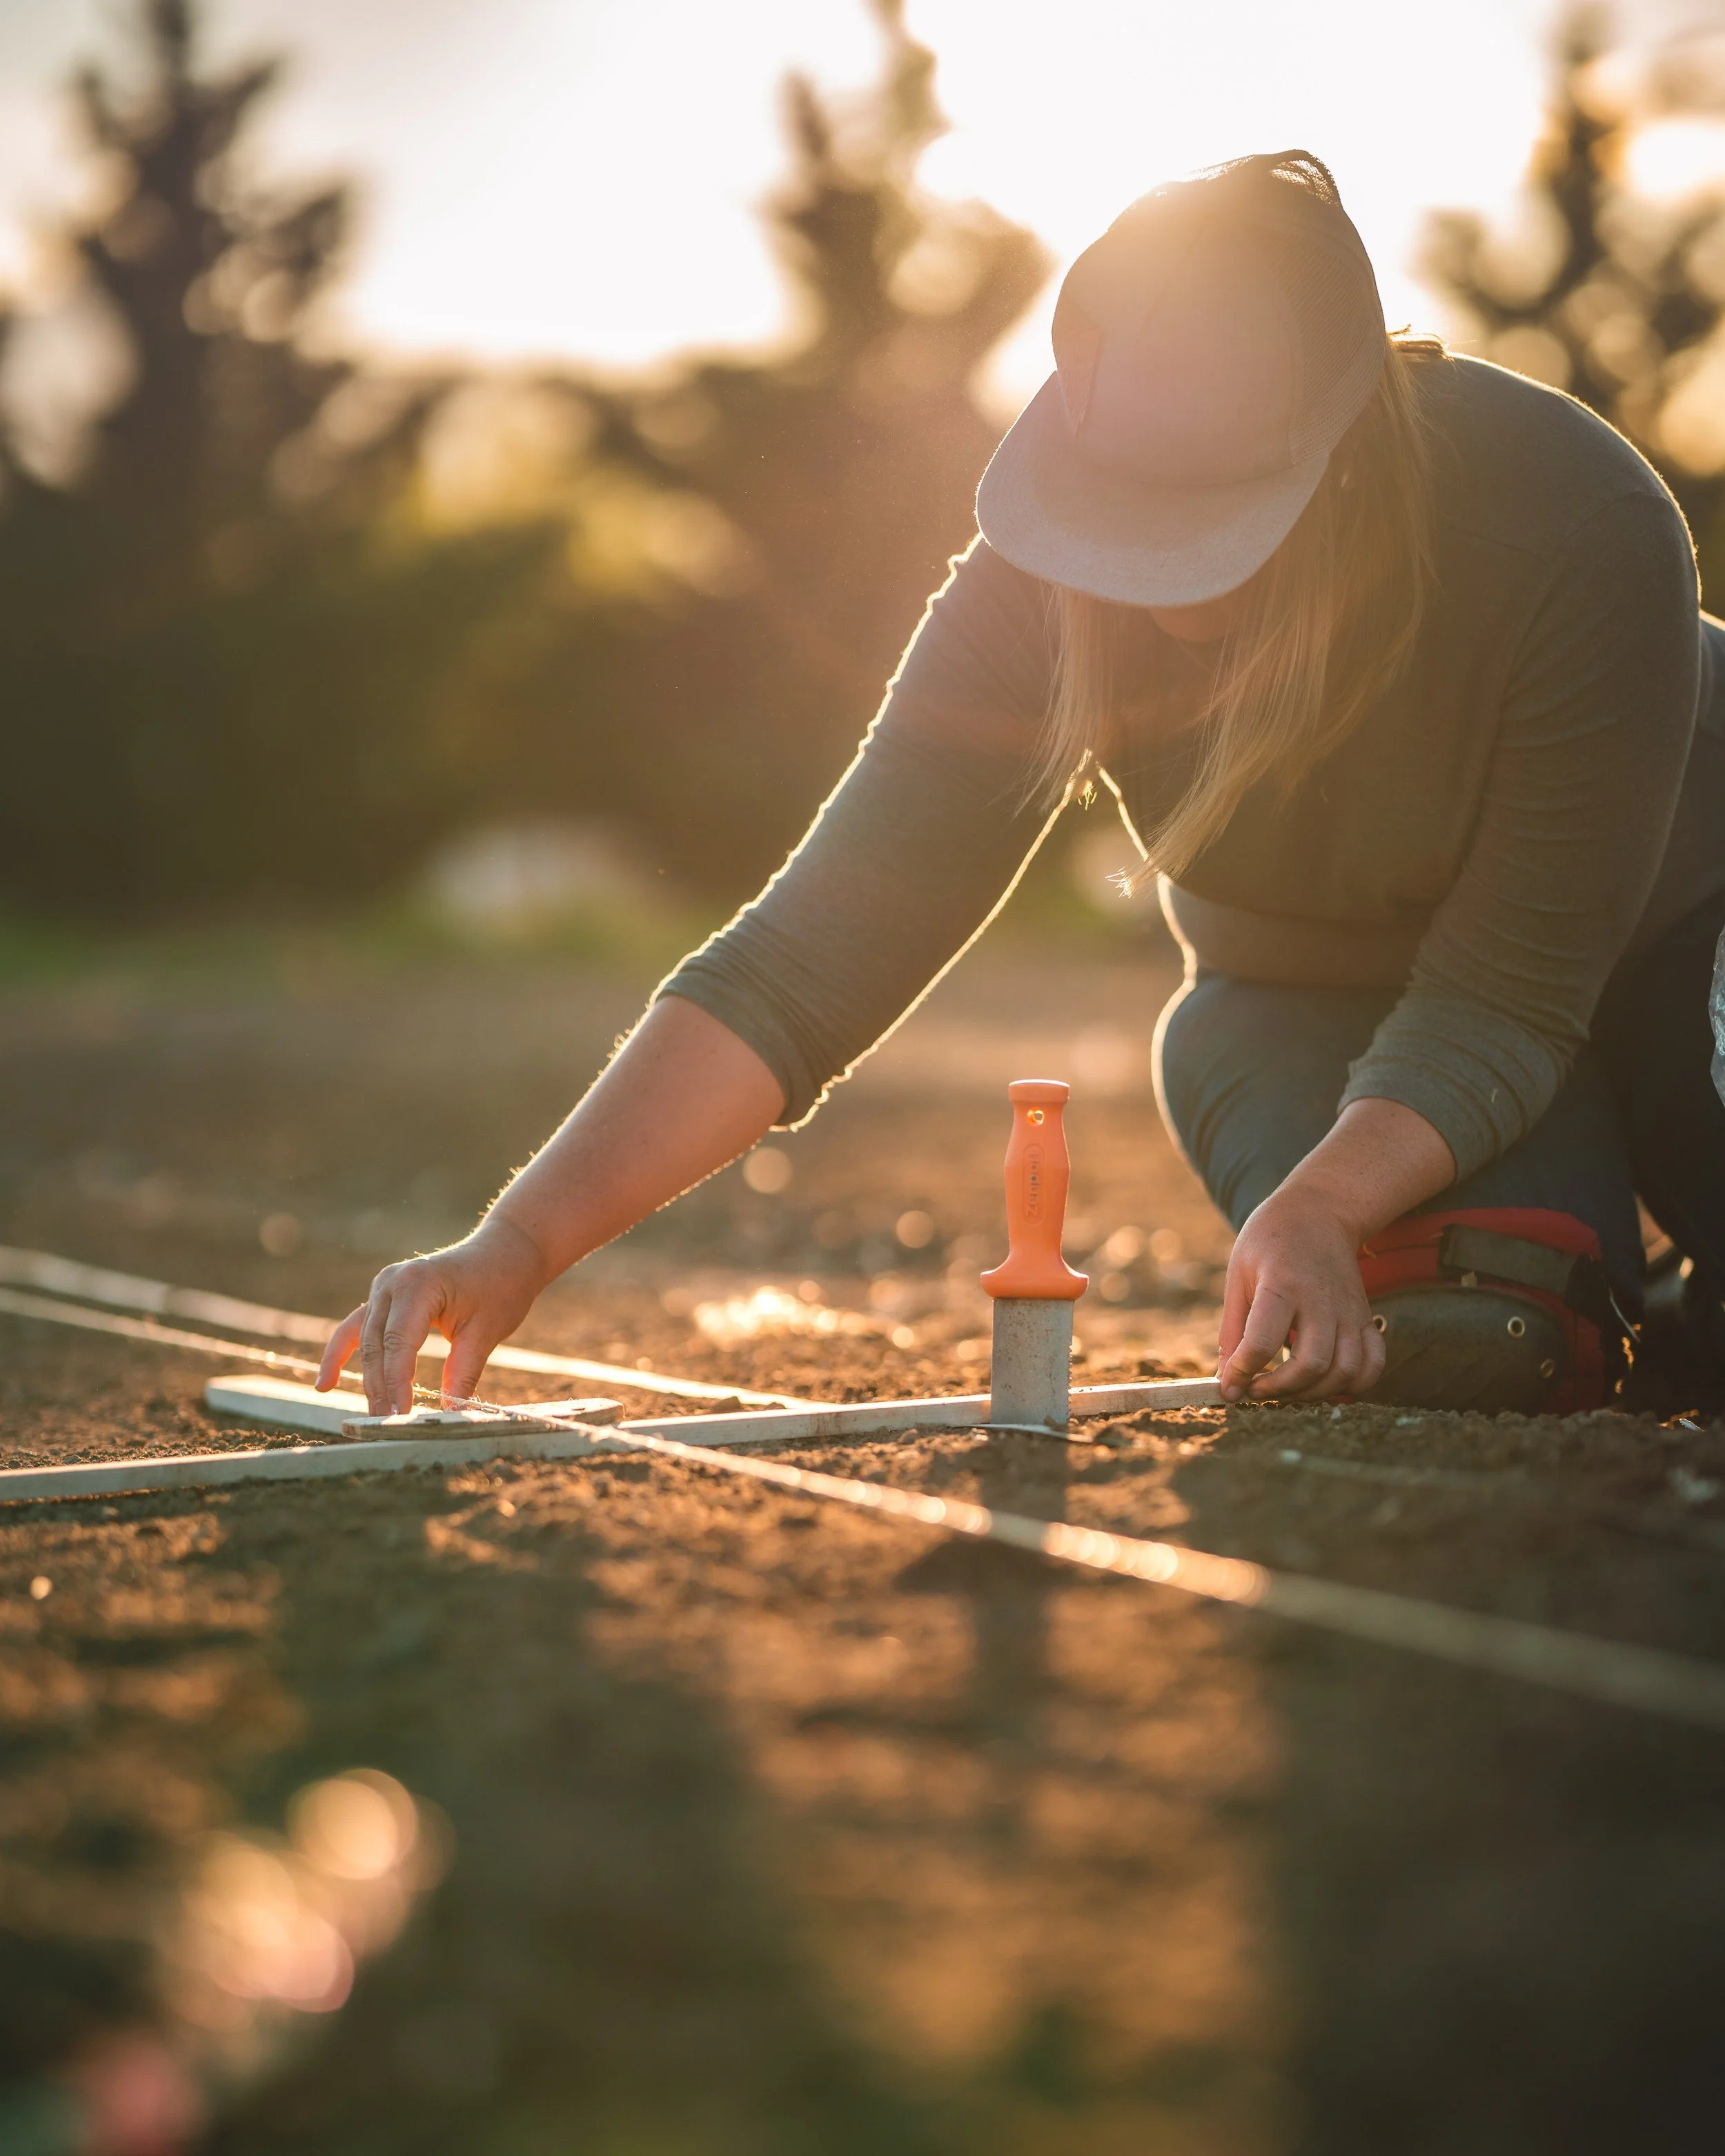
2. Lay Landscape Fabric and Prep Holes
After removing the silage tarp, we lay down pre-burned landscape fabric to take weed management a step further. The pre-burned holes allow for:
Precise Spacing: Optimizes plant health and bed efficiency.
Easy Planting: Holes are already marked, so there’s no guesswork.
To create holes for transplanting:
Hori-Hori Knife or Butter Knife: Great for gently cutting into the soil.
Auger Attachment on a Drill: For speed and efficiency, we use a large auger on a drill to quickly create holes.
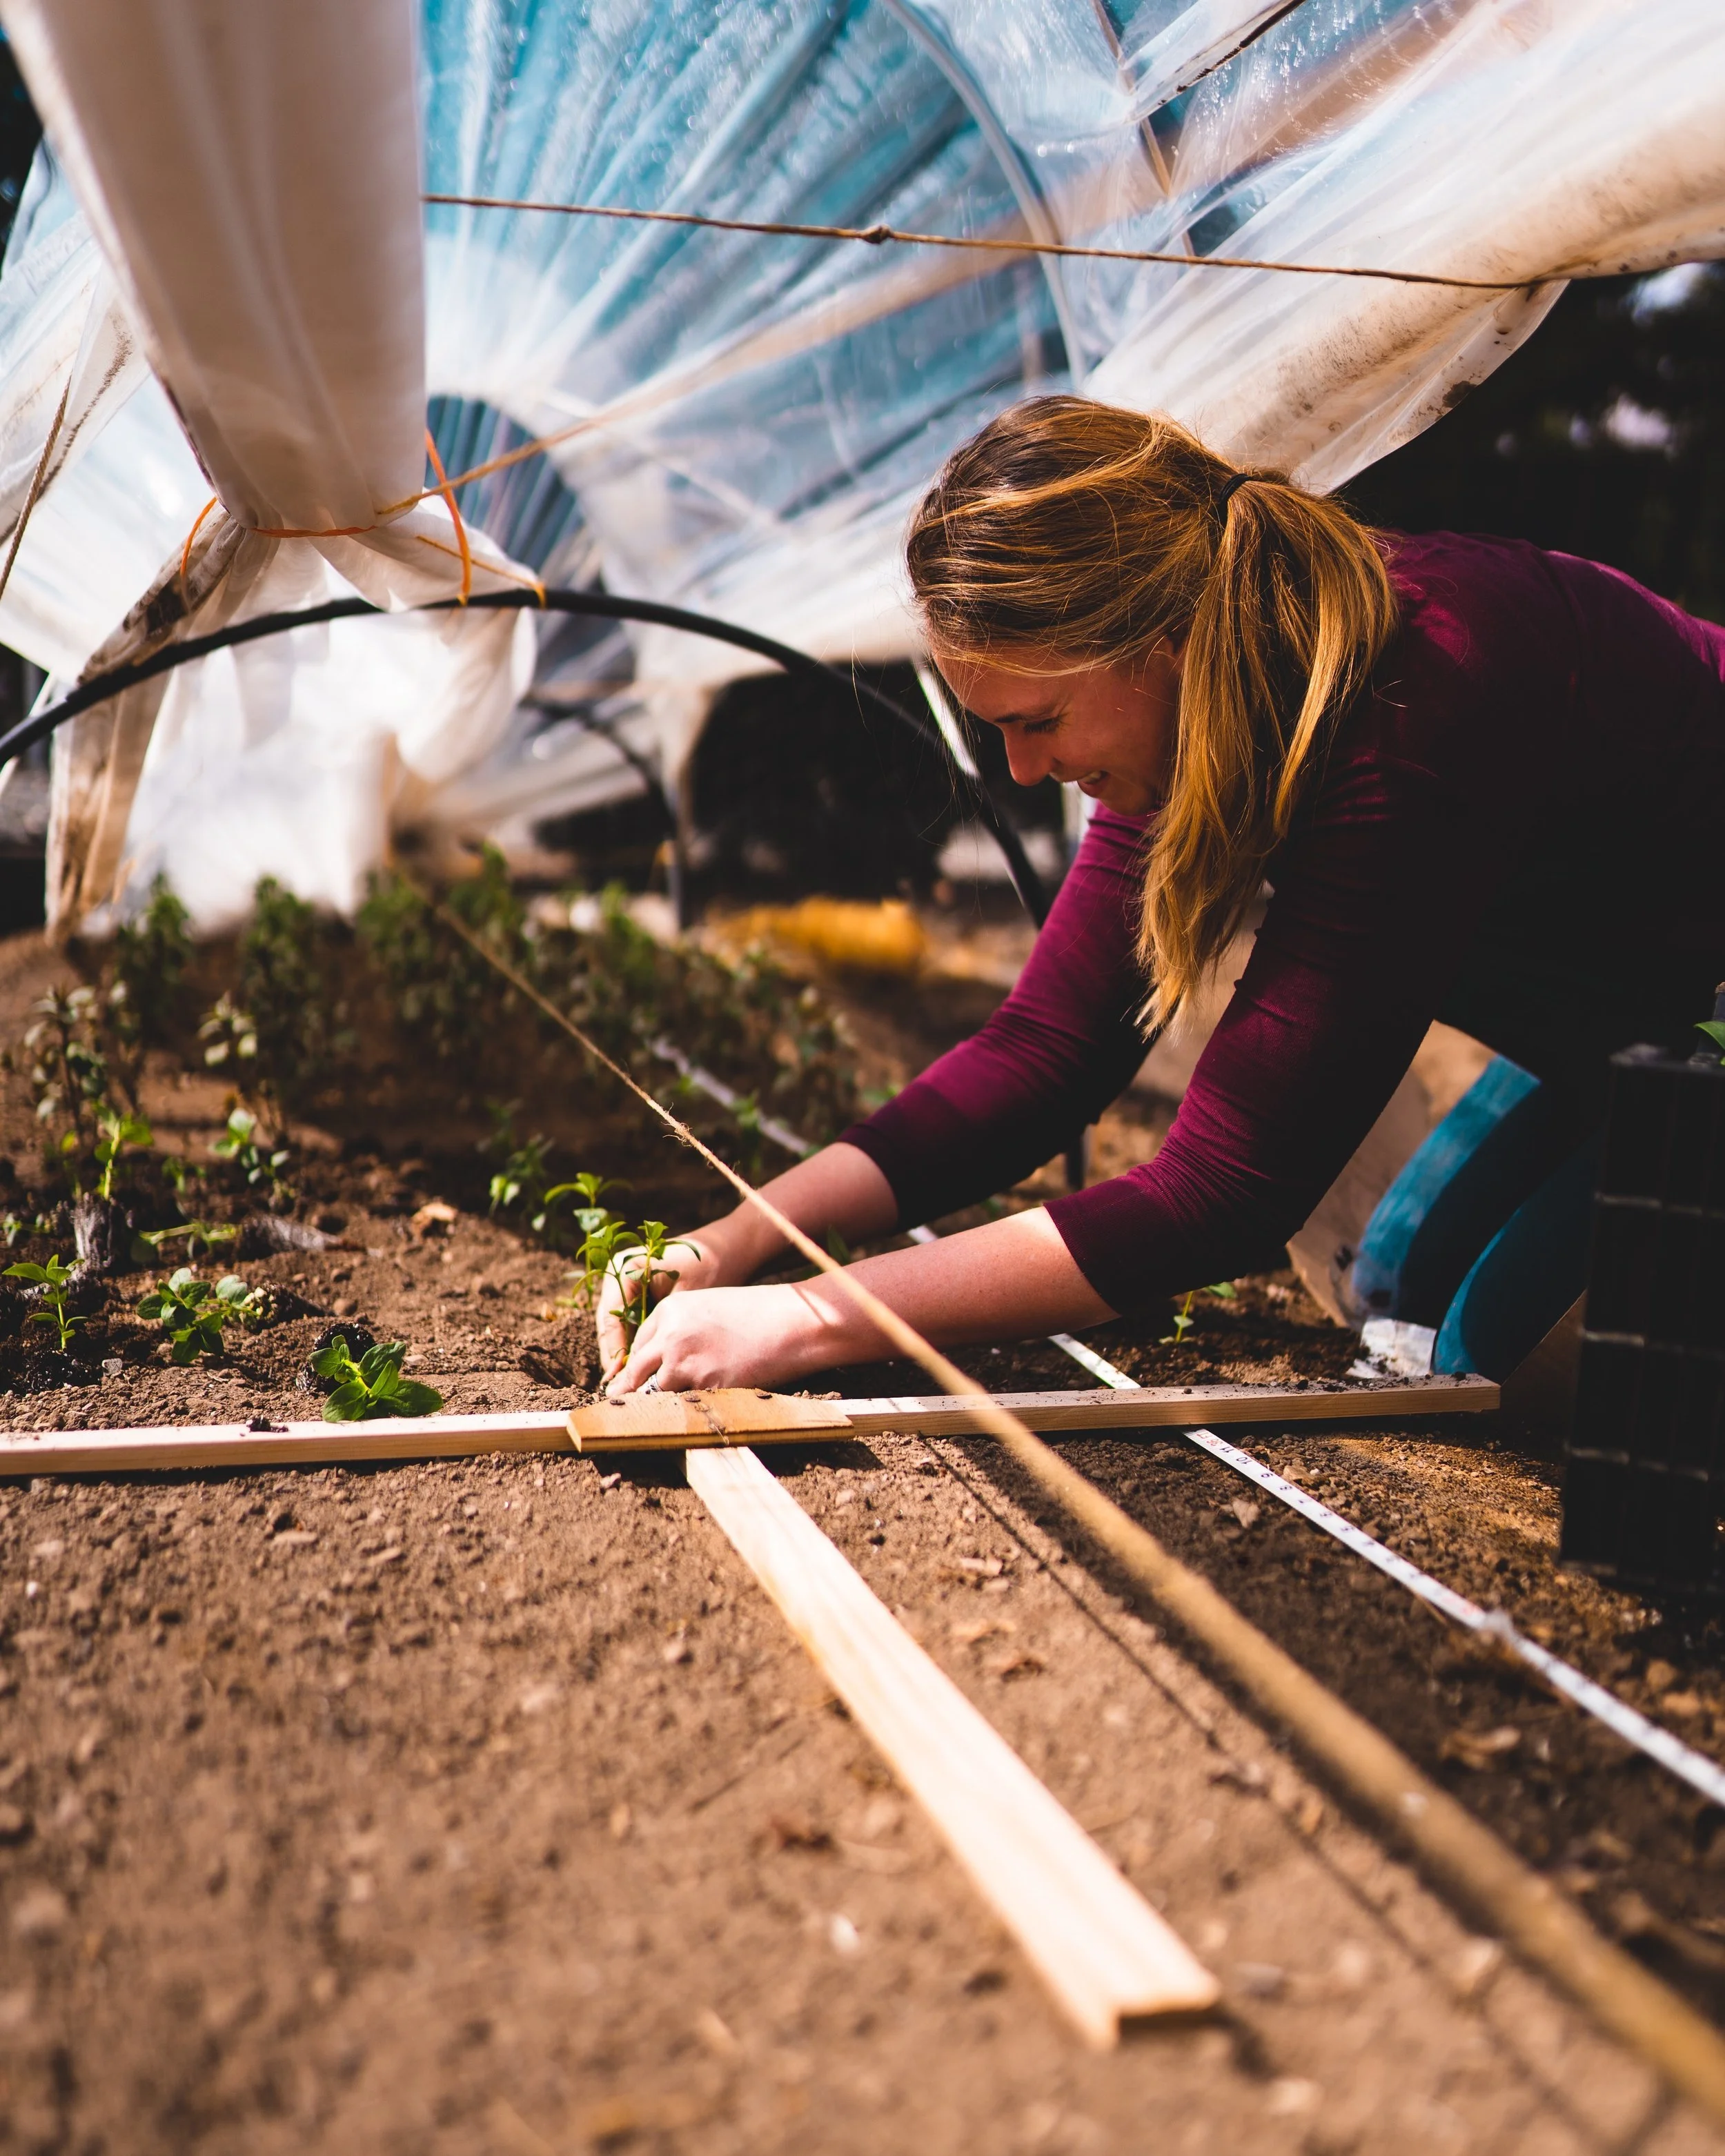
3. Transplant Seedlings
Here’s our step-by-step process for planting:
Hydrate First:
Water seedlings thoroughly a few hours before transplanting to reduce stress.
Water the Beds:
Drip irrigation should already be in place, but we also hand-water the rows before planting to ensure even moisture.
Plant During the Coolest Part of the Day:
Early morning or late afternoon are ideal to minimize transplant shock.
Place Seedlings Carefully:
Plant seedlings level with the soil surface, unless the variety (like tomatoes) benefits from deeper planting.
Handle roots gently—especially for sensitive plants like ammi and celosia that dislike root disturbance.
Secure Soil Around the Seedling:
Lightly firm the soil to eliminate air pockets and ensure good root-to-soil contact.
Water Again:
Even with drip irrigation, we hand-water transplants for the first week or two to ensure strong establishment.
Protect If Needed:
Use micro-tunnels (frost cloth over galvanized wire) for added protection from wind, temperature drops, or pests.
Why This Process Works
By combining silage tarping, drip irrigation, and landscape fabric, you set your transplants up for success:
Weed-Free Beds: The silage tarp eliminates weeds before planting, and landscape fabric keeps new weeds at bay.
Consistent Moisture: Drip irrigation ensures seedlings have the water they need.
Healthier Plants: The combination of tools reduces stress, minimizes competition, and allows seedlings to settle in quickly.
By using these methods, transplanting becomes a smoother process, giving your seedlings the best possible start in the field. With proper preparation, you’ll save yourself valuable time and effort, reducing the need for extra weeding and troubleshooting later.

Troubleshooting Failing Transplants
Even with careful planning and execution, seedlings can sometimes struggle after transplanting. The key is to identify the issue quickly and take action before it becomes a bigger problem. Here are the most common signs of transplant stress and how to address them:
Common Warning Signs and Fixes
Yellowing Leaves
Likely Cause: Overwatering, poor soil drainage, or nutrient deficiency.
Fix:
Check the soil—if it’s soggy, reduce watering and allow it to dry slightly.
If soil is compacted or heavy, consider a yucca flush to improve water uptake and drainage.
If yellowing persists, feed with a diluted phosphorus-based fertilizer like Fox Farm’s Big Bloom or kelp.
Crispy or Wilted Leaves
Likely Cause: Underwatering, sun exposure stress, or windburn.
Fix:
Increase watering—check soil moisture regularly and hand-water if needed.
Protect seedlings with micro-tunnels (frost cloth or shade cloth) to reduce heat and wind exposure.
Water seedlings early in the day to prevent evaporation.
Purpling
Likely Cause: Phosphorus deficiency or cold damage.
Fix:
If caused by cold, ensure frost cloth is in place for protection.
Feed with kelp or a phosphorus-rich fertilizer to help plants recover.
Note: Some varieties, like certain snapdragons, naturally show purple hues—so check the plant type first.
Damping Off
Likely Cause: Soil pathogens or poorly draining seedling substrate.
Fix:
Remove affected seedlings to prevent spread.
If damping off is recurring, switch to a soilless substrate and ensure airflow around plants.
Send in a soil test to rule out underlying pathogens.
General Lack of Thriving
Likely Cause: Poor soil preparation, nutrient imbalances, or transplant shock.
Fix:
Conduct a soil test if you haven’t already. Adjust pH and nutrients accordingly.
Monitor water levels—overwatering and underwatering can both cause stress.
If seedlings aren’t improving, try planting a “test crop” (like bachelor buttons or squash) to troubleshoot soil health.
What to Do If Seedlings Fail
Sometimes, despite your best efforts, a batch of seedlings just won’t make it. Here’s what to do:
Stay Calm: Seedlings are resilient. Give them time to recover before pulling them out.
Replant if Needed: If plants are truly failing, replant with a fresh batch or direct-sow a backup crop.
Evaluate the Soil: If failure is widespread, test the soil and consider a quick fix like a yucca flush.
Take Notes: Document what happened so you can adjust for next time. The best growers are great note-takers!

Transplanting seedlings can feel like a big step, but remember: plants want to grow. By preparing your seedlings, timing the planting carefully, and setting up strong, healthy beds, you’re giving your plants everything they need to thrive.
Will there be setbacks? Of course. But those moments are opportunities to learn, adjust, and grow as a gardener or farmer. Soon enough, you’ll be walking through rows of lush, thriving plants—knowing that each bloom is the result of your care and persistence.
So take a deep breath, trust the process, and get those seedlings in the ground. You’ve got this!

We are looking forward to sharing more blooms with you soon.
Jessica & Graham